Creating vibrant, exciting metal art starts with one of the most basic (but not always the easiest!) technical skills – joining metal to metal. This post is all about understanding the processes. It delves even deeper into my favourite joining method at Copper Lizard Studio – making recycled metal art using cold connection techniques.

Simply Starting to Understand the Process
If you have two pieces of paper you want to join together, you have a few options. You can join them with glue, staples, fold the edges together – and if you are a little craftier you might even consider stitching or using metal paper fasteners. These metal paper fasteners are called brads in scrapbooking circles, but they are different from the brads used in riveting (more about that later).
Joining Metal
When you are joining two pieces of metal, you have even more options than simply joining paper. Different projects use a variety of thicknesses and weights of metals. Because of this, artists need a greater variety of potential fastening techniques. Each artist also has their own preference based on how they want the finished project to look and/or function. Imagine a large constructed steel sculpture in a park. Think about a delicate piece of gold jewelry. There are both made with joined metal, but they are not joined in the same way.
The First Decision – Heat Versus No Heat
When joining metal with heat, you can use soldering or welding. Smaller pieces are usually soldered. It is easier to delicately control the process with a small piece. Larger pieces are normally welded for strength – but note that this is not a steadfast rule. I find that if I look up recycled metal art, most people that create recycled metal art are using large pieces of steel. They use welding as the main way of joining their metal. This type of art is often large rusty garden art sculptural pieces.

Cold Connection – The No Heat Option
Cold Connections is – in simplest terms – using no heat to join metal to metal. There are endless possibilities within this category. You can join metals using adhesives, tabs, wire, nuts and bolts, folding and riveting.
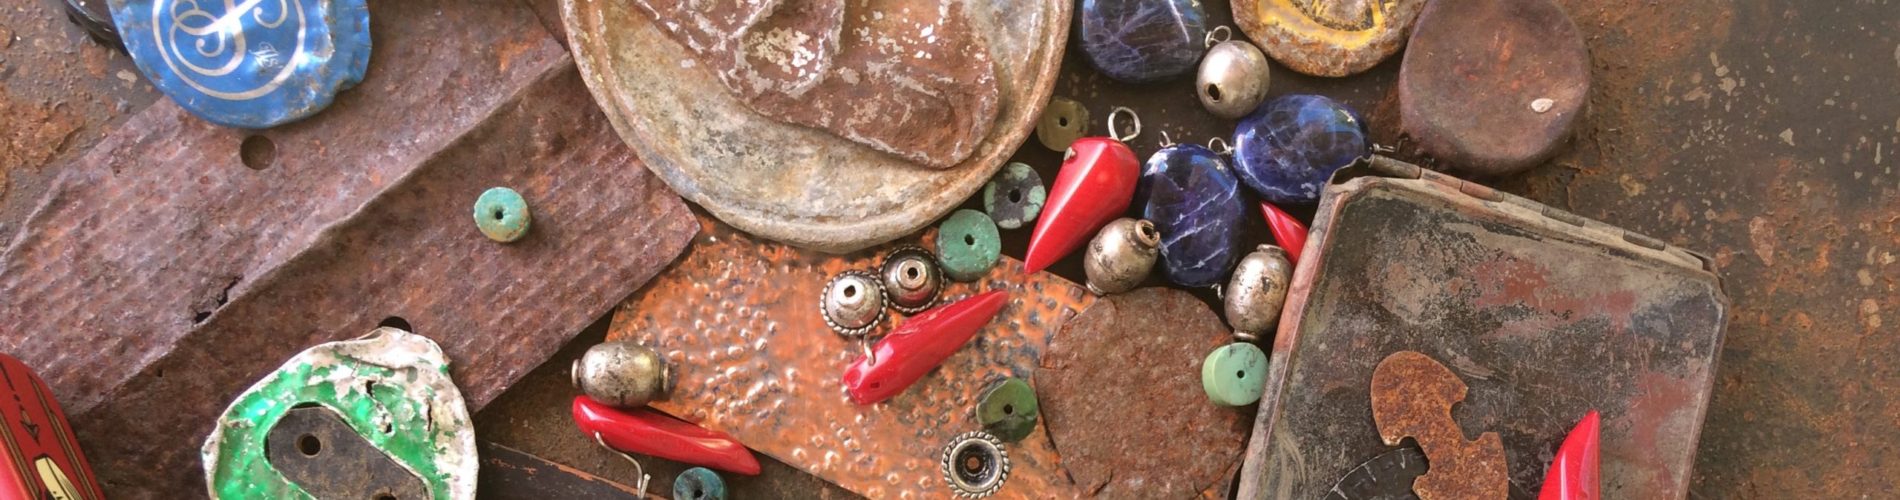
At Copper Lizard Studio, I make eco-friendly art from post-consumer and found metals. My art includes small wearable sculptures called Luckys (see directly above) mixed metal earrings, metal collage, shadow box wall art and free-standing sculptures. I like creating these pieces using a technique called hand riveting.
Hand Riveting uses metal to join metal. There is no soldering or welding. My work uses commercial rivets, copper rivets, brass rivets, wire, brads (small nails) or escutcheon pins (drawer hardware nails). I love the way riveting allows me so many variations on how to join metal. Each style looks and functions in a different way. I find that having such a large variety of options while making metal art just keeps the creative juices flowing.

Hand Riveting: The Cold Connection I Know and Love
I made the decision very early on in my metal working artists’ journey that hand riveting metal would be go-to joining technique for me when working with metal. This decision was partly born out of the fact that the metal working courses and workshops I took were predominantly focused on jewelry design and construction. Cold connection hand riveting is a jewelry metal joining technique that has been around since ancient times but is still extensively used today in modern jewelry-making.
Far from being limiting, there are seemingly endless ways to join metal with this versatile cold connection jewelry technique. I have been fortunate enough to study metalsmithing and jewelry making with some very talented, diverse and extremely giving artist instructors. Each of these different instructors has shown me new and creative ways to achieve the look I wanted when building my recycled metal art and jewelry for Copper Lizard Studio. I have taken this classic cold connection jewelry technique that is taught to use with gold and silver and have put it to use with post-consumer tea tins, rusted steel, flattened bottle caps and many other non-precious metals. I will be talking more about Calgary based metal and jewelry artist instructors in a later post Metal and Jewelry Artist Instructors.
How Does Riveting Work?
First, decide where you want to join each piece of metal. Make the same size hole in each of the two pieces of metal that you wish to connect. Next, line up the two holes – usually using a clamp here so nothing moves out of alignment. Now, fill the holes with a piece of metal or rivet, which could be wire (I like copper wire) or small nails, etc. You want the rivet to be as close in size to the holes as you possibly can. It needs to be a tight fit. I’ll be discussing rivet types in more detail in an upcoming post on Rivet Varieties and the Tools to Use.
One side of the rivet – which is the piece you put in the holes – needs to be slightly domed if it is wire or have a head it is a nail. This important so that the end is too large to fall through the holes. On the opposite side of metal, cut your wire or nail and slightly dome the metal on that side so the rivet can’t move. Rule of thumb for the length of metal to have before doming? The length should be approximately half as long as the width of the material it is going through.
What Kind of Rivet to Use?
There is no right or wrong or any straight-forward answer as to what kind of rivet to use! It’s art. Making logistical and/or decorative decisions with what kind of rivet to use is going to depend on the size of the piece, if the rivet needs to hold weight, if the artist wants it to be seen or if it needs to be nearly invisible, if it’s going to be a closed or open rivet (a.k.a. tube rivet) and probably three or four additional considerations. The rivet material, method of riveting and the different style of rivet you choose will depend on what the piece actually needs and how the artist wants it to look when it is finished.
There are a lot of choices when it comes to rivets. The first choice is the type of metal. There are copper rivets, brass rivets, steel rivets and aluminum rivets. You can choose commercially made rivets or create your own out of copper wire, copper tacks, small brass nails, small steel nails like brads or decorative nails – like escutcheon pins. The right kind of rivet is whichever one does all the things you need it to do.

What Kind Of Rivet Should I Use? – Checklist:
Size – Is the rivet size (both length and width) appropriate for the size and weight of the metal being joined?
Material – Should the material that the rivets are made of contrast or blend into the metal being joined? This is really a question only the artist can answer as it totally depends on their aesthetic.
Style – Similar in a way to the material choice, the artists decides if they want the rivet to be large, small, decorative, highly visible or nearly hidden.
Amount – This needs to be looked at in both an aesthetic and practical manner. When joining two pieces of metal together, you should never rely on just one rivet as over time the material will often become loose and the metal can spin or move around the rivet. It best to plan on at least two rivets to hold your material in place. Since rivets can be decorative or an integral part of the pattern or texture, the artist may want to have many rivets even though only two are required to hold the metal in place.

I hope I have given you a better understanding of cold connection techniques and some practical answers and motivation to start making metal art using rivets. For more inspiration and information on metalsmithing and metal jewelry construction, check back for my upcoming post on Jewelry & Metalsmithing Books Worth Checking Out.